Visualizing content
Published news are available for the readers in the “News” section. They are anticipated by teasers.
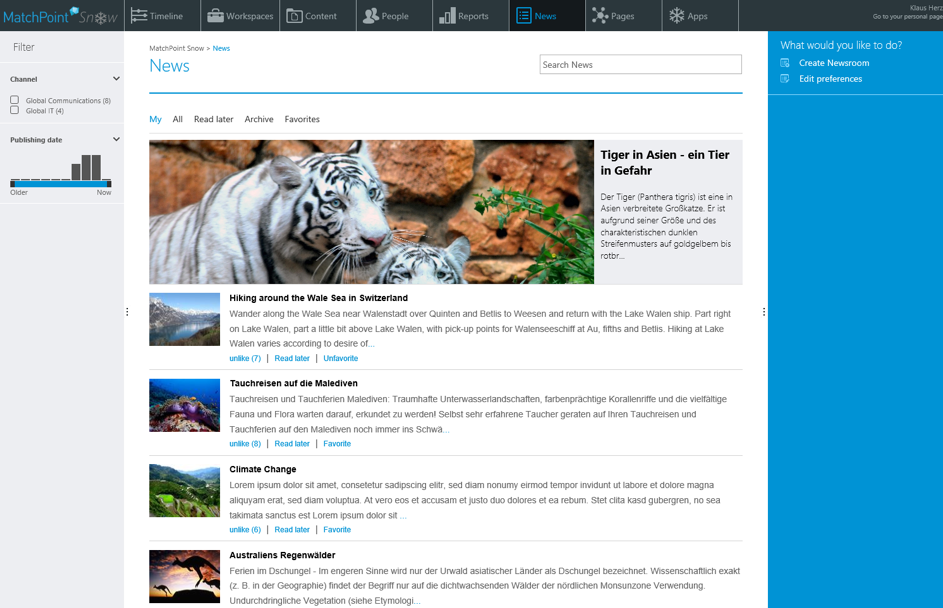
Figure 127 – News readers‘ view
Readers have multiple perspectives upon news.
My news
A reader sees in the “My” view the news tagged with the channel(s) he subscribed for. For example, a user who subscribed to the channel “Global IT” will see under “My” all teasers tagged with the channel tag “Global IT”.
If a user has not subscribed to any channel, he will see here all news on which he has at least read permissions.
To subscribe to a channel, open the action “Edit preferences” from the action panel.
Edit preferences
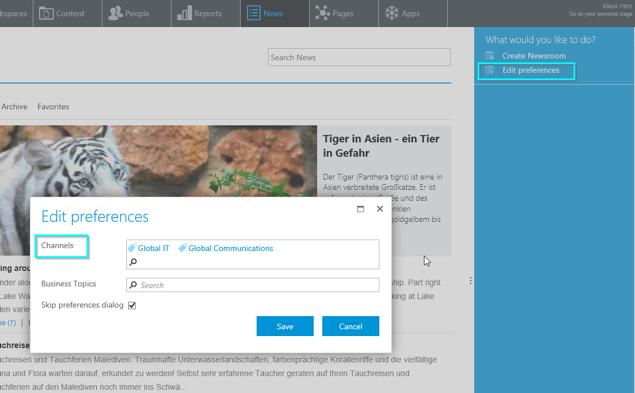
Figure 128 – Edit preferences
If there are default channel conFigured, they will appear as suggestions in the field „Channels“. A user can remove them or add other channels he is interested in.
To add a channel, start typing its name so that suggestions appear. Alternatively, click directly in the search box, then “Browse” and select a channel from the list, then press *Save.

Figure 129 – Browse for channels
Apart from the channel subscription, a user has the possibility to get his news based on relevant metadata as well. For instance, if a reader is interested in news from the department “Marketing”, he can add the department tag in the field “Business Topics”.
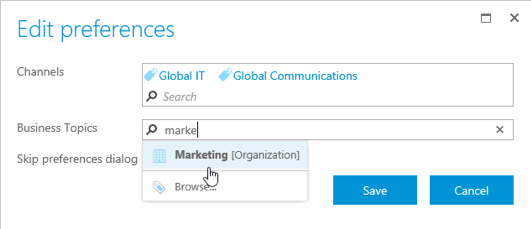
Figure 130 – Add business topics
Once the field “Business Topic” is populated with tags, the system will apply an AND logic between the fields “Channels” and “Business Topics”, and an OR logic between the elements within one field.
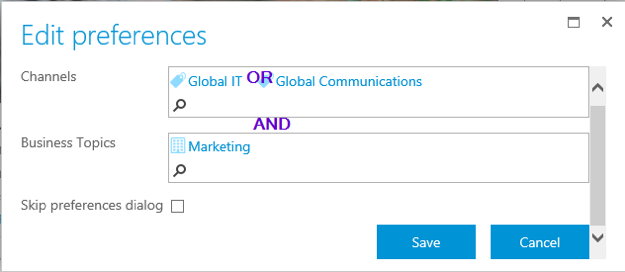
Figure 131 – Logic mechanism for my news
Taking as example the situation above, the user will see news tagged with the channels Global IT and Marketing or Global Communications and Marketing.
After setting channels and tags, make sure to mark the checkbox “Skip preferences dialog” and press Save. If that checkbox is not marked, this dialog will open each time the user navigates to the “News” section.

Figure 132 – Skip preferences dialog
Corporate teasers
In the view “My” news, a reader can also see published corporate teasers. Each user sees only the teasers to which he has at least read permissions.
Corporate teasers are displayed for the readers exclusively in the view “My” news.
Search
In this view, the search finds items by title and abstract.
All news
This view presents all published news regardless of their channels or metadata. To find a news, use the search and the refinements on the left side, e.g. refining by organization unit, location or channel.
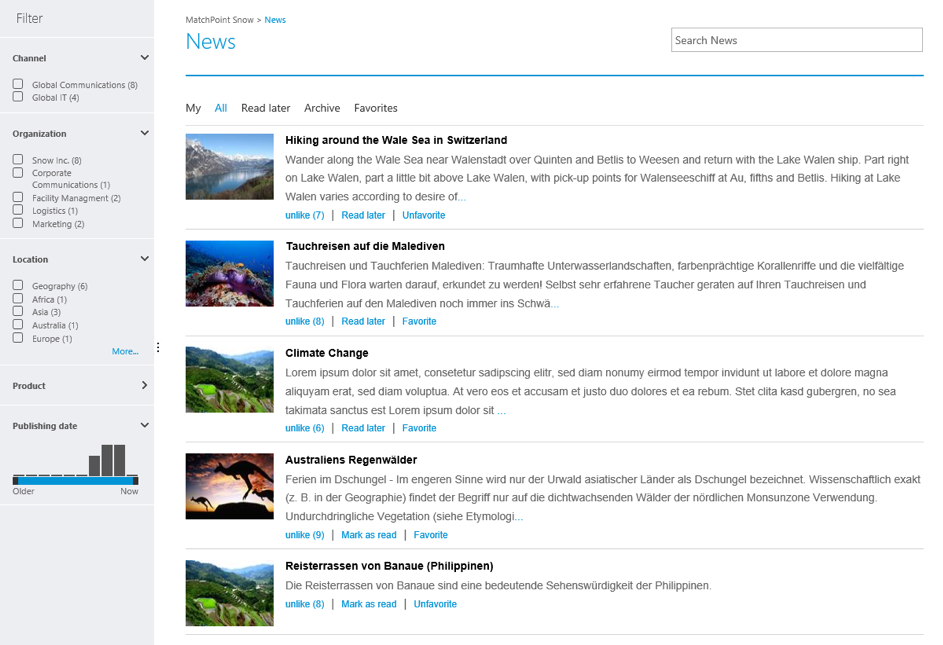
Figure 133 – All news
Search
In this view, the search finds items by title and abstract.
Read later
When surfing through news views, readers can quickly mark interesting items to read later.
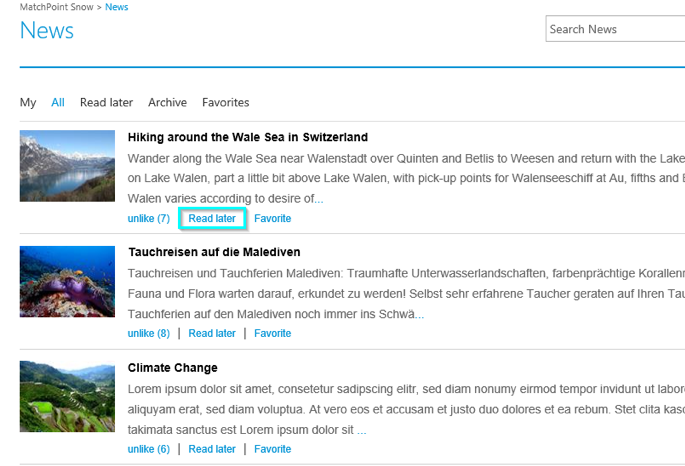
Figure 134 – Read later action
An item marked with “read later” is saved in the “Read later” list. The reader can access the items, read and mark them as read.
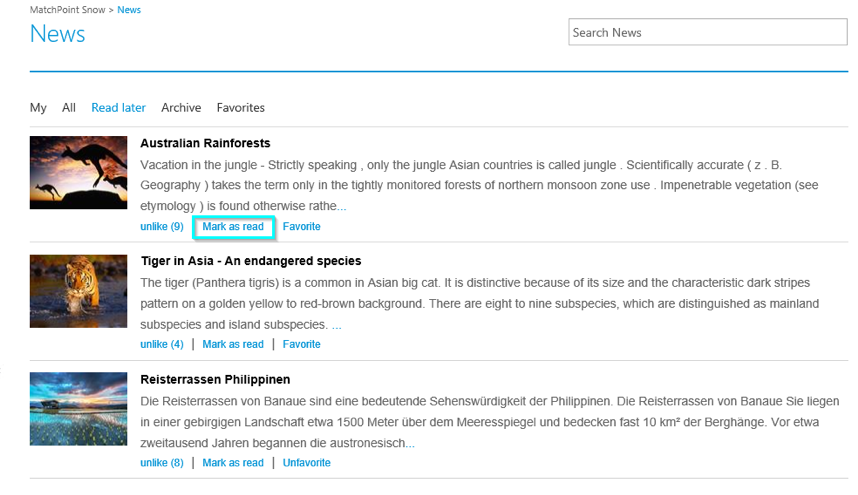
Figure 135 – Read later view, mark as read action
Another way to mark an item as “read later” or “read” is using the icon on the news article view.
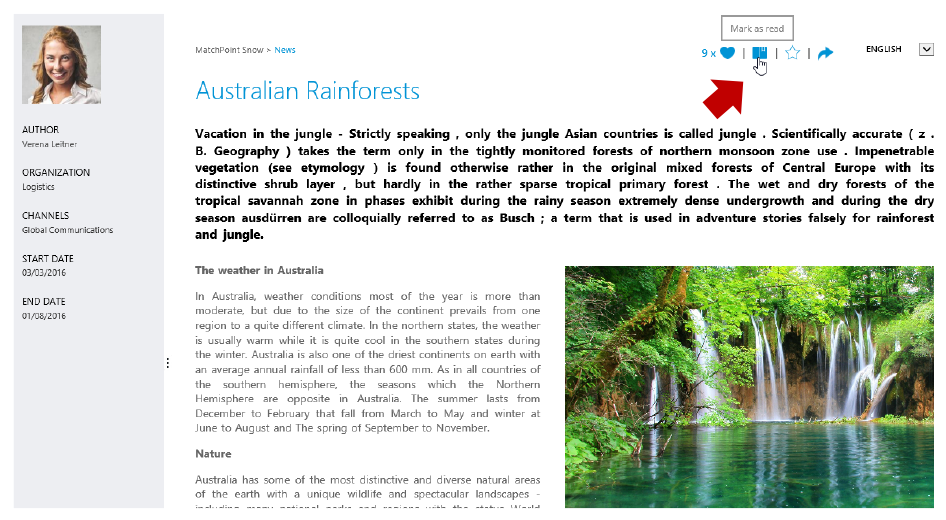
Figure 136 – Read later icon
When the item is marked as read, the icon changes its shape fill from blue to transparent.

Figure 137 – Item marked as read
Search
In the “Read later” view, the search finds items by title and abstract.
Archive
This view displays news that are not active anymore and have been archived. Readers can still access and read them, but will not find them in the intranet advanced search any more.
Search
In the “Archive” view, the search finds items by title, abstract and text body.
Favorite
Users can mark their favorite news mainly by using the action “Favorite” on a teaser.
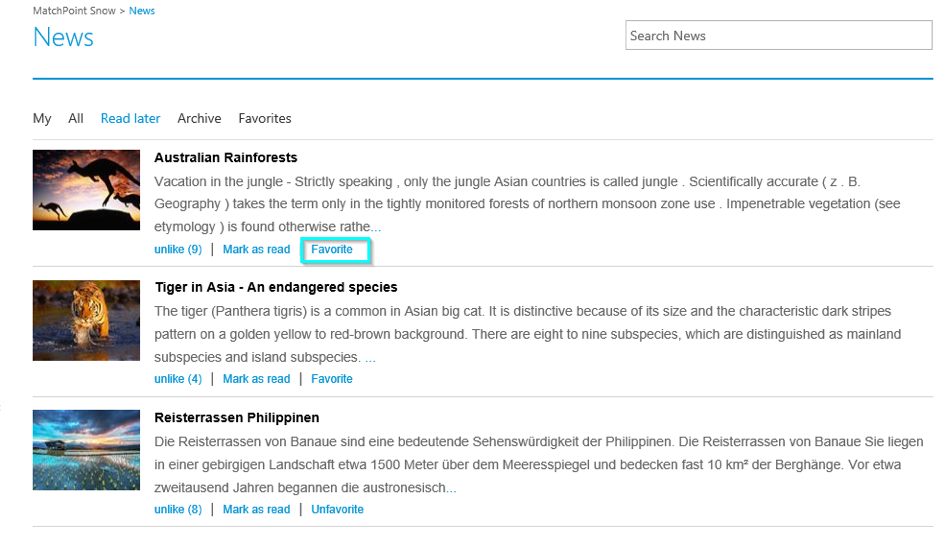
Figure 138 – Favorite action
Of course, the option is also available on the news article, in form of an icon.
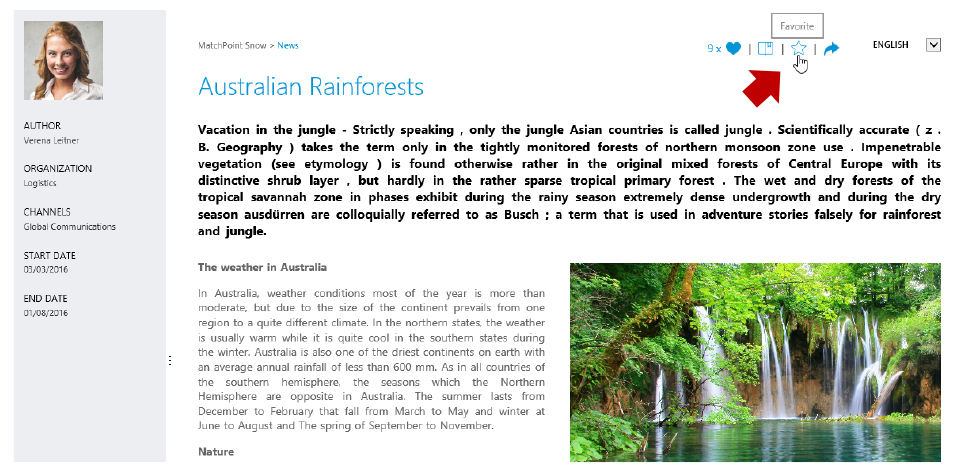
Figure 139 – Favorite icon
Once marked as favorite, the icon changes its fill color from transparent to blue and the news item is saved in the “Favorites” list.

Figure 140 – Item marked as favorite
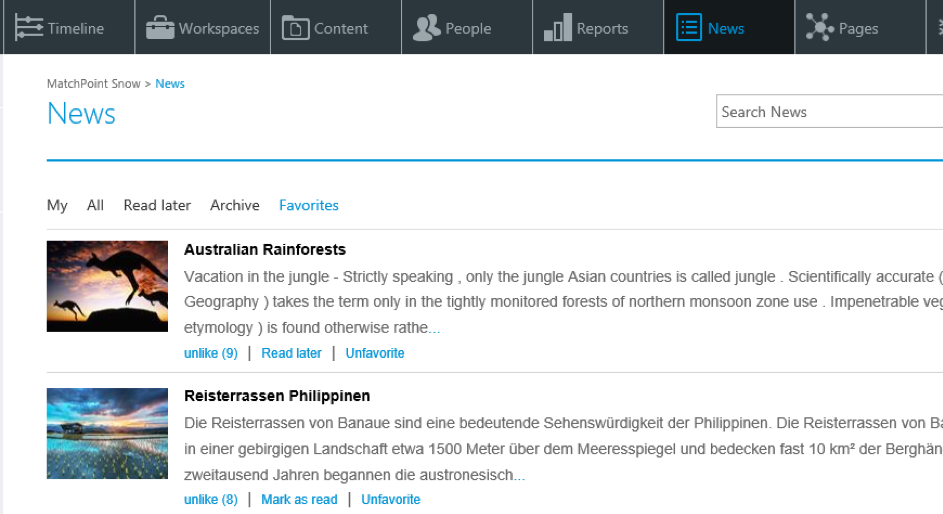
Figure 141 – Favorites view
A favorite item can be marked unfavorite, in this way it will not be displayed in the “Favorites” view any more.

Figure 142 – Unfavorite action
Search
In the “Favorites” view, the search finds items by title, abstract and text body.
Social actions
As part of a modern intranet, the Newsroom module supports the collaborative approach through social actions. Users can like and share news articles with a single click or leave a comment, if the comment feature is enabled.
Like
The “Like” action is available on the teaser as well as on the news article.

Figure 143 – Like/unlike action on teasers level
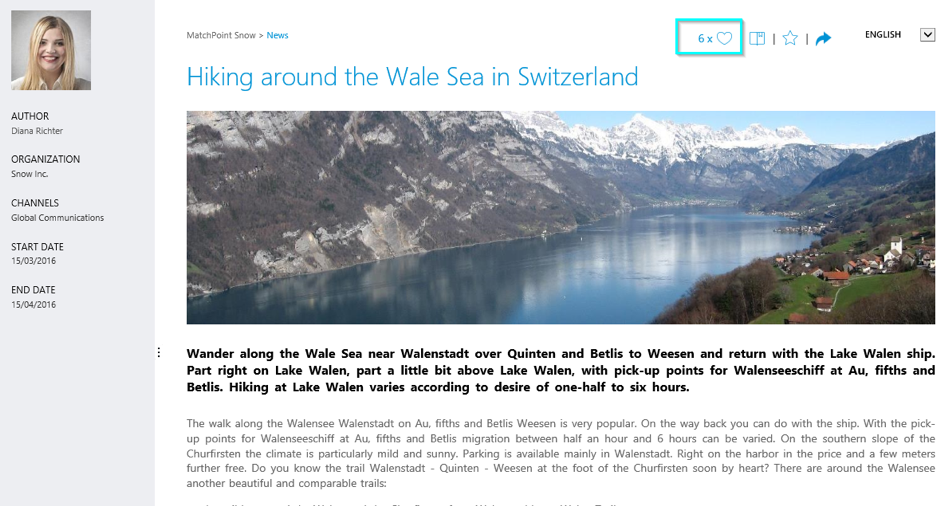
Figure 144 – Like icon on a news article
When hovering with the mouse over the “Like” action or icon, the reader sees a list of people who already liked the item.
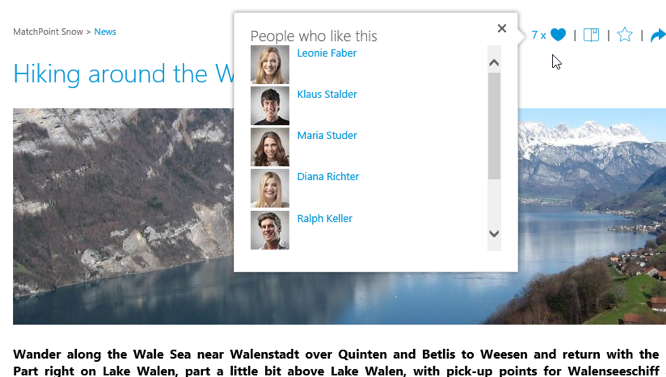
Figure 145 – People who like this
Share
To share a news article, click on the arrow icon on the news article, copy the URL and send it via
e–mail or chat to other people.
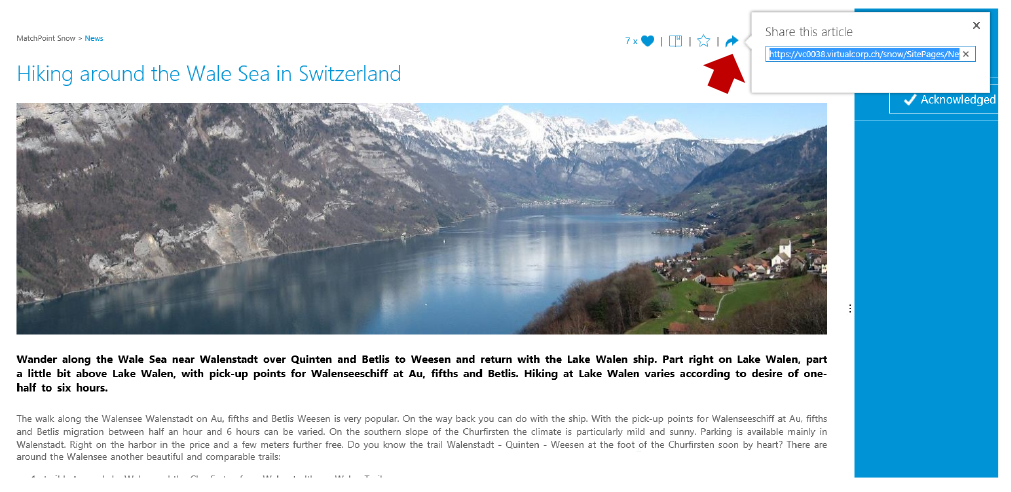
Figure 146 – Share a news article
Comment
Users can comment on a news article if the comment function has been enabled on the Newsroom where that article is created. By default, the comment feature is always enabled.

Figure 147 – Enable comments on a Newsroom
The comments posted on a news article are saved in the personal newsfeed of the user and appear on the timeline as well.
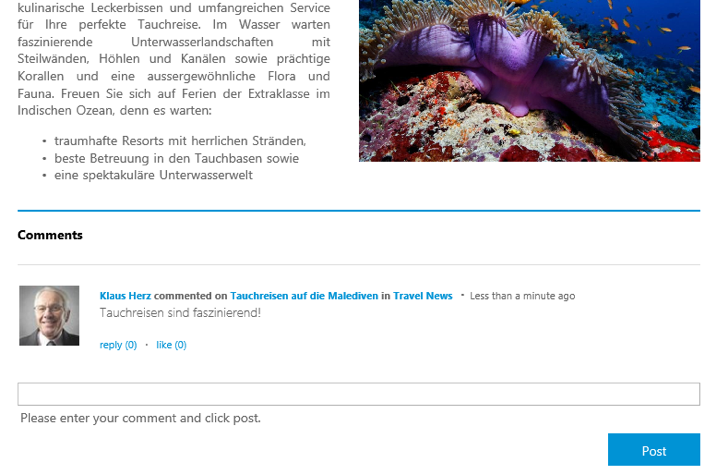
Figure 148 – Comment on a news article
When multiple users comment on an article, the most recent comments are shown first. In addition, a default number of three comments is displayed on the article. Use the paging arrow to see further comments.
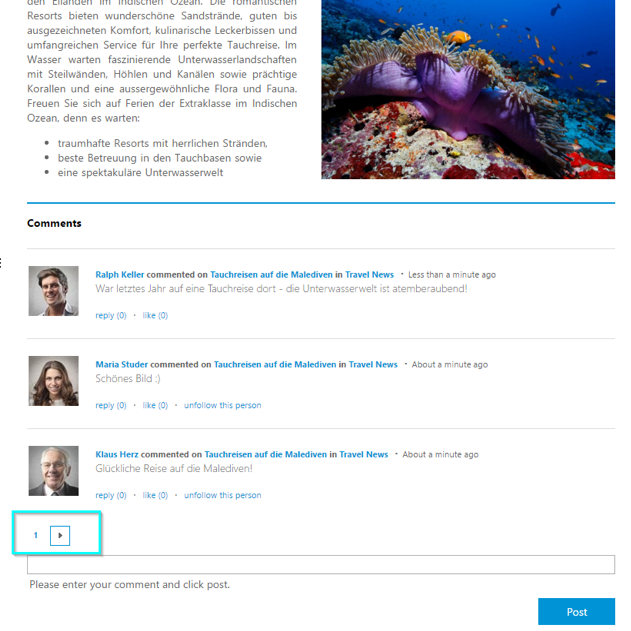
Figure 149 – Paging arrow
Acknowledge
When an author publishes a news article that requires acknowledgement, the users who are set by the author as acknowledgers receive an e–mail notification about this. The mail contains a link to the news article that needs their acknowledgement. In the action panel on the right side, they will see a button Acknowledge.
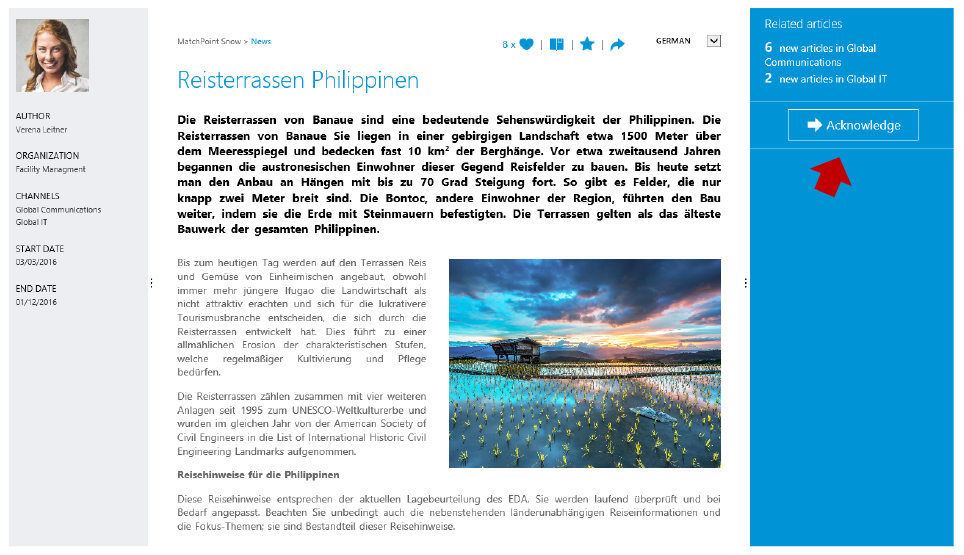
Figure 150 – Acknowledge button
By clicking the “Acknowledge” button, the user acknowledges the article and his acknowledgement is registered. The button cannot be reused afterwards.
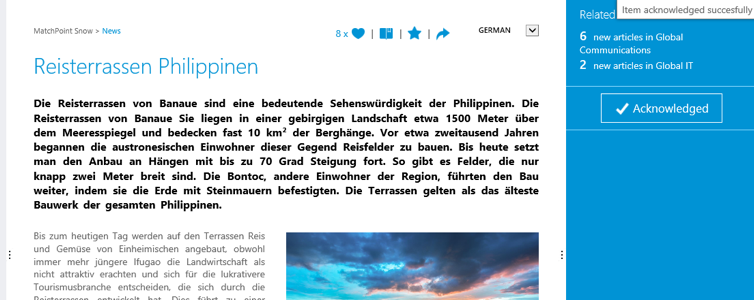
Figure 151 – Acknowledged news article
Related articles
A reader can access further news articles in the section “Related articles”. For each channel the news is tagged with, the number of latest news is displayed, with a link to an overview showing these items.

Figure 152 – Related articles counter

Figure 153 – Related articles overview
From this overview, a reader can directly navigate to a related news article.
Contextual actions
Depending on their role inside the workspace an article comes from, users can have some actions available to them.
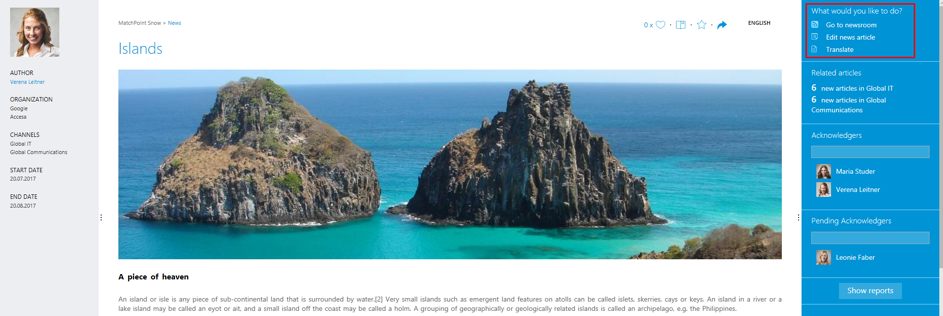
Figure 154 – News article contextual actions
The following actions are available:
- Go to newsroom: it redirects to the article’s newsroom
- Available to users who have access to the newsroom in which the article is located
- Edit news article: it redirects to the wizard for editing the news item
- Available to users who have edit permissions for the news item
- Translate: it redirects to the translation wizard for creating a new translation
- Available to users who are translators in the Newsroom
Language handling
In the News readers’ view, a user sees the language versions that match his preferred languages. These are set in his user profile. If no translation is available matching user languages, the system will try to find one matching the corporate language 1. If none available either, it will show the original language in which the item was created.
This fallback mechanism applies for all news views.
When reading a news article, the user sees the language of the current translation in the top right corner of the page.
(1: The corporate language is set in the Newsroom configuration file.)
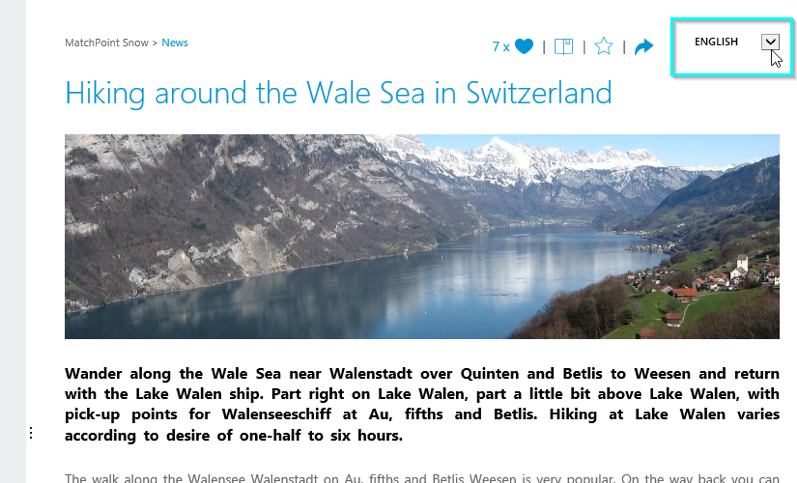
Figure 155 – Language drop down menu
The user can switch to another available language by opening the language drop down menu and selecting a translation language.

Figure 156 – Switch language
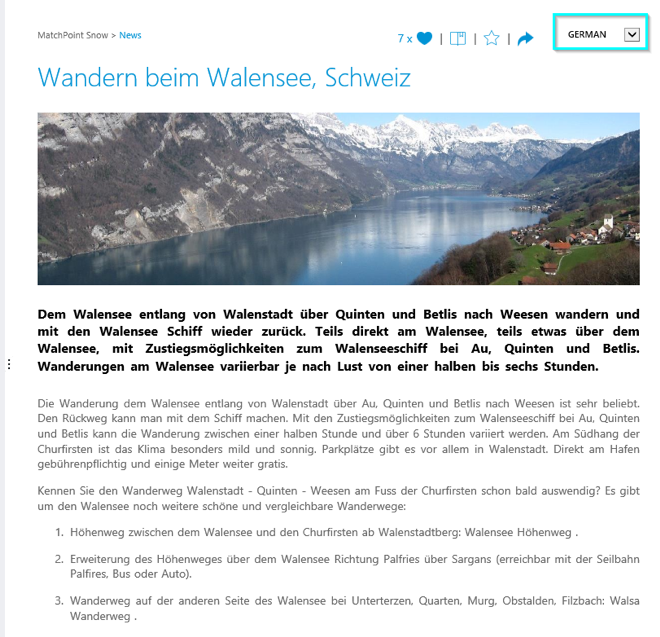
Figure 157 – Read in another language
Only available translations are shown in the language drop down menu. When switching to another translation, it is only the content of the news article that changes.
Unseen news
All standard teasers that point towards news articles that have not yet been seen by the user will be marked with a “new” overlay on the thumbnail.
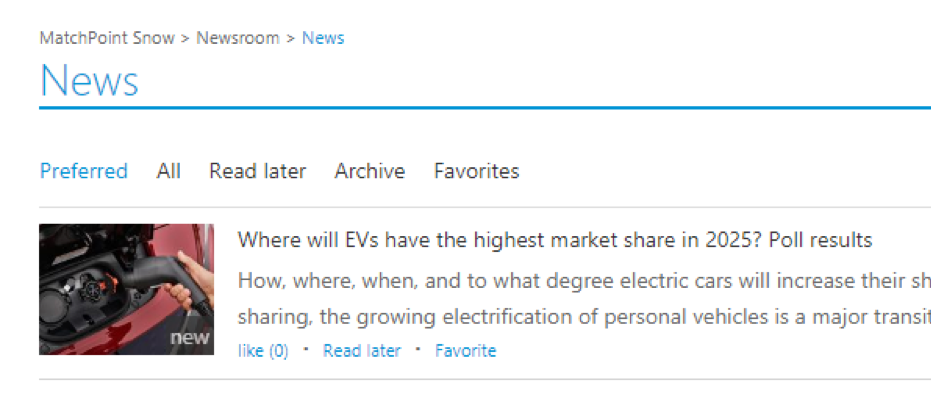
Figure 158 – Unseen news
Once a news article is accessed, the news will be regarded as seen, and the “new” overlay will no longer be displayed on any of the teaser items pointing to that particular news.
The ‚new‘ marker will appear on the news articles/ teasers on the Snow Portal page, Content News and News view inside Newsroom Snowflake.
“Unseen News” functionality is applied only for the News articles that where created after the solution has been updated with this feature. For a new user, the ‚new‘ marker will be displayed only on news articles that were created after their first login.

